
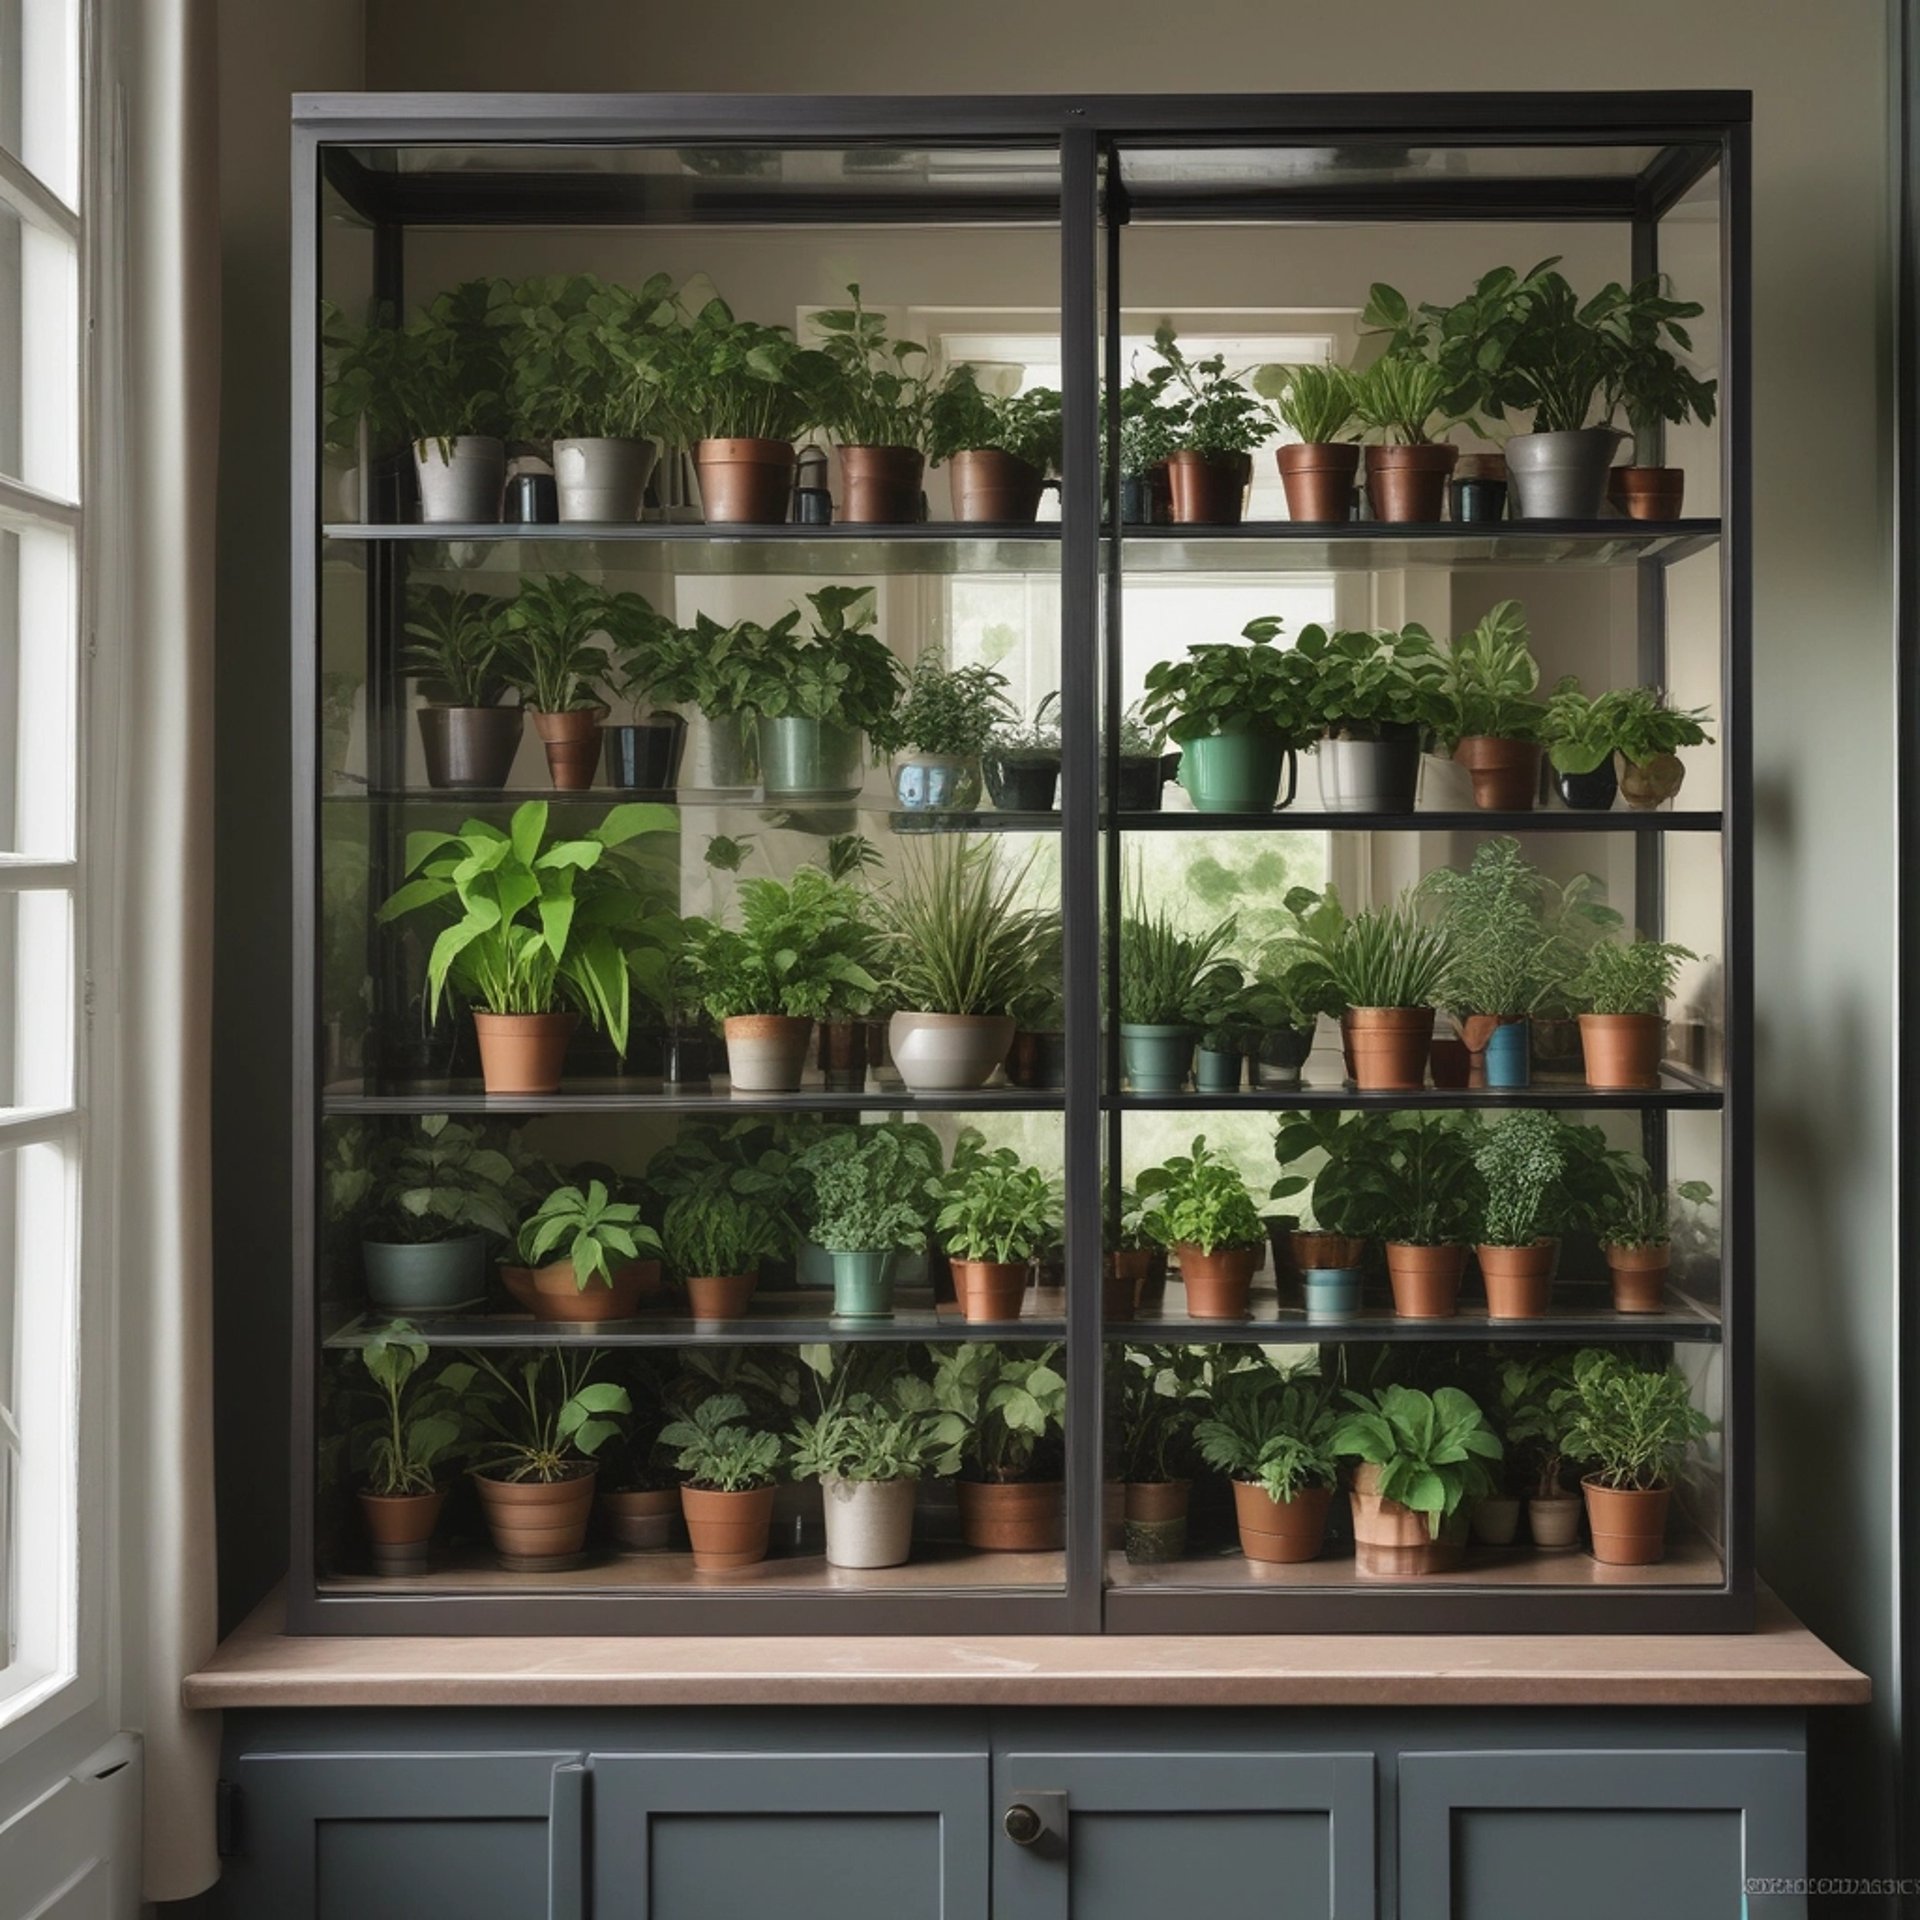
DIY IKEA GREENHOUSE CHECKLIST AND STEP BY STEP GUIDE
In this guide, we will walk you through the must-have items to set up your IKEA greenhouse for the best plant care experience. Whether you’re growing tropicals, propagating new plants, or creating a stunning plant display, these essentials will make your setup functional and beautiful.
Note: This post may contain affiliate links. PlantyShanty.com earns a small commission on qualifying purchases through these links at no extra cost to you. This helps us continue providing quality content for fellow plant lovers.
Popular IKEA DIY Greenhouse Cabinets
Each of these can be customized using the products listed below!
IKEA Milsbo Tall


Perfect for showing off taller species of plants!
IKEA Milsbo Wide
For wider plants with additional surface space above (for more plants!)
IKEA Rudsta
A cost-effective option for your next Planty Shanty!
Setting Up Your IKEA Greenhouse: Essential Tools and Accessories
If you're looking for a quick shopping list, look no further. Below you will also find a step-by-step guide to complete your greenhouse or Planty Shanty! (Trying to make Planty Shanty a thing lol. Help me out! )
Greenhouse Cabinet
Recommended: IKEA MILSBO Tall, MILSBO Wide, or RUDSTA (or a similar enclosed display case)
Grow Lights
Barrina LED Grow Lights – Full-spectrum lights for optimal plant growth
Fans or Ventilation
USB Fan – Helps circulate air and prevent humidity buildup
Hygrometer / Thermometer
Digital Hygrometer – Accurate humidity and temperature readings
Weather Strips
Weather Stripping Tape – Maintains a stable microclimate by sealing gaps
Humidity Control
Humidifier or Pebble Tray – Keeps moisture levels ideal for tropical plants
Extra Shelves & Brackets
Acrylic Shelves – Modern look, better light penetration
Shelf Brackets – Sturdy support for multiple planting levels
Magnets & Hooks
Magnetic Hooks or Strips – For mounting tools, small fans, or lights
Power Accessories
Kasa Smart Plug – Enables remote control or scheduling of lights and fans
Drill & Step Bit (2”)
2” Metal Step Bit – For adding grommets or custom holes
Grommets (2”)
Rubber or Plastic Grommets – Keep cables neat without compromising the enclosure
Optional Accents
Monstera Cabinet Handles – Add a botanical flair to your greenhouse doors
Front Door Weather Strip – Further seal the cabinet for consistent conditions
Step-by-Step Setup Instructions:
1. Assemble Your IKEA Cabinet
Follow IKEA’s Directions
Start by constructing the cabinet according to the included IKEA instructions.Drill for Cable Management (Optional but Handy)
Before attaching the back panel, use a Power Drill and 2” Metal Step Bit to create a discreet hole near the base—ideal for running cords neatly out of sight.
2. Prepare and Install Shelves
Choose Your Style
You can keep the stock shelves or upgrade to Acrylic Shelves for a sleek, modern look.Measure & Cut
Ensure the shelves fit the MILSBO’s interior dimensions. If needed, trim wire or acrylic shelves and consider spray painting them to match.Secure with Sturdy Brackets
Attach Shelf Brackets to the desired heights using pre-drilled holes or by adding new ones. Slide in the shelves and verify they’re level.
3. Install Your Grow Lights
Pick the Right Lights
For optimal coverage and spectrum, we recommend Barrina LED Grow Lights.Mounting Magic
Attach them above each shelf using strong double-sided tape or Magnetic Hooks. Magnets help with repositioning lights as your plants grow.Tidy Cables
Run cords through your custom hole using 2” Grommets. This keeps wires neatly organized.Power Up
Pair an Extension Cord with a Kasa Smart Plug for easy scheduling and remote control of your lights.
4. Enhance Air Circulation
Cooling Fans
A USB Fan or two is essential to prevent stagnant, humid air that can invite fungal issues. Position them so air moves across all shelves.Secure Fans
Use magnets, zip ties, or hooks to anchor fans in place. If you need more reach, opt for USB extension cords.
5. Perfect the Humidity & Temperature
Must-Have Hygrometer
Keep track of humidity and temperature with a Digital Hygrometer. Alarms and readings help avoid mold or excessive dryness.Weather Strips
Add Weather Stripping Tape along door edges or gaps, sealing in your chosen microclimate.Humidifier
If you’re growing tropical plants, a Humidifier ensures the ideal moisture level—especially in drier months.
6. Finishing Touches & Customizations
Monstera Cabinet Handles
Upgrade the default hardware with Monstera Cabinet Handles for a stylish botanical flourish.Front Door Weather Strip
A Front Door Weather Strip refines the look and further stabilizes climate control.Extra Accessories
Feel free to add pegboards or small hooks for tools and décor.IKEA Spare Parts
Need additional components? Visit the Official IKEA Spare Parts Page to order replacements.
Final Thoughts
Following our step-by-step guide, with these essential accessories, you’ll create a stunning and highly functional indoor greenhouse—perfect for nurturing your botanical beauties. For more plant care advice, product recommendations, and in-depth tutorials, visit PlantyShanty.com. Shop with our affiliate partners to get everything you need for your greenhouse project and watch your indoor garden thrive!
Happy growing, and congratulations on building your very own PlantyShanty! We'd love to see pictures, don't hesitate to reach out!
Contact Us
We're here to help with your soil selection inquiries anytime.